Have you ever experienced the frustration of a video call dropping mid-sentence or a game lagging at the worst possible moment? The culprit is often unstable internet. In today’s digital age, where remote work, online education, and streaming services are part of our daily lives, a stable internet connection isn’t just a luxury; it’s a necessity.
This article dives deep into the internet stability test —a critical tool for diagnosing and improving your connection. You’ll discover what it is, why it matters, and how to conduct it effectively. By the end, you’ll have actionable insights to enhance your online experience. Ready to take control of your connectivity? Let’s get started!
What is an Internet stability test?
An internet stability test evaluates the consistency and reliability of your internet connection over time. Unlike a speed test, which measures download and upload speeds, a stability test focuses on:
- Packet Loss: The percentage of data packets that fail to reach their destination.
- Latency: The time it takes for data to travel between your device and a server.
- Jitter: Variations in latency can cause disruptions in activities like gaming or video calls.
By identifying these issues, you can pinpoint the exact problems affecting your internet performance.
Why is Internet stability important?
A stable internet connection ensures:
- Seamless Communication: Video calls and VoIP services require consistent connectivity to avoid lags and dropped calls.
- Smooth Streaming: Uninterrupted video and music streaming, even in high-definition.
- Online Gaming: Low latency and jitter for an optimal gaming experience.
- Efficient Remote Work: Reliable access to cloud services and collaboration tools.
Key Takeaway:
A stable connection isn’t just about speed; it’s about reliability. Even the fastest internet won’t suffice if it’s inconsistent.
How to Perform an Internet Stability Test
Conducting an internet stability test is straightforward. Here’s a step-by-step guide:
1. Choose the Right Tool
Several tools and platforms can test internet stability, including:
- PingPlotter: visualizes latency and packet loss.
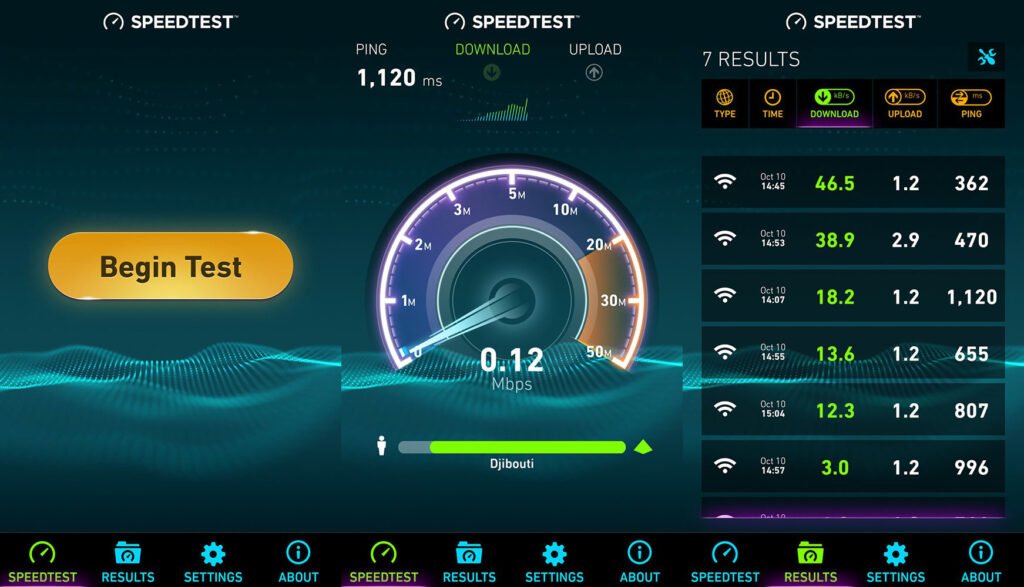
- Speedtest by Ookla: Includes a stability-focused feature.
- Ping Command: Built into most operating systems.
2. Set Up the Test Environment
- Ensure minimal device usage during the test.
- Connect directly via Ethernet for accurate results.
- Restart your modem/router to clear temporary issues.
3. Run the Test
- Use your chosen tool to monitor performance for 10–30 minutes.
- Record data on latency, jitter, and packet loss.
4. Analyze the Results
- Good Stability: Latency <50ms, jitter <20ms, packet loss <1%.
- Poor Stability: high latency, frequent jitter, or packet loss above 1%.
Common Causes of Internet Instability
Understanding the root cause is vital for resolution. Here are the most common culprits:
- Network Congestion: Multiple users on the same network.
- Outdated Equipment: Old routers and modems can limit performance.
- ISP Issues: Problems at your Internet Service Provider’s end.
- Interference: physical barriers or electronic interference affecting Wi-Fi signals.
Table: Comparison of Stability Factors
| Factor | Impact on Stability | Solution |
|---|---|---|
| Network Congestion | High latency and jitter | Upgrade to a higher bandwidth plan |
| Outdated Equipment | Slower speeds, disconnections | Replace router/modem |
| ISP Issues | Frequent interruptions | Contact ISP for support |
| Interference | Weak signal strength | Optimize router placement |
How to Improve Internet Stability
1. Upgrade Your Equipment
Invest in modern routers with advanced features like beamforming and dual-band Wi-Fi.
2. Optimize Your Network
- Use Ethernet for critical devices.
- Disconnect unused devices.
- Set Quality of Service (QoS) rules for bandwidth allocation.
3. Work with Your ISP
- Request a higher-tier plan if needed.
- Report issues promptly for resolution.
4. Regular Maintenance
- Update firmware on routers.
- Perform periodic speed and stability tests.
Case Study: Achieving Stable Internet
John’s Struggle with Lagging Video Calls
John, a remote worker, faced constant disruptions during video meetings. By running an internet stability test, he discovered:
- Latency spikes exceeding 150 ms.
- Frequent packet loss.
Solution:
- Upgraded to a modern router.
- Contacted his ISP for network adjustments.
- Switched to a wired Ethernet connection.
Outcome: John’s connectivity improved significantly, enabling seamless video calls and increased productivity.
FAQs about Internet Stability Tests
1. What is the best tool for an internet stability test?
Popular tools like PingPlotter and Speedtest are reliable and user-friendly.
2. How often should I test my internet stability?
Conduct tests monthly or whenever you experience connectivity issues.
3. Can I perform a stability test on Wi-Fi?
Yes, but Ethernet provides more accurate results.
Conclusion
Internet stability directly impacts our digital lives. By understanding and addressing issues through an internet stability test, you can ensure a smoother, more reliable online experience. Implement the tips shared in this guide and enjoy uninterrupted connectivity.
Final Thoughts
Imagine a world where video calls never drop, streaming is flawless, and online gaming is lag-free. That’s the power of a stable internet connection. If you found this guide helpful, share it with friends or drop a comment below with your experiences. Together, let’s make connectivity frustrations a thing of the past!